Skip to product information
1 of 2

Pacifrica

Mini Candle Making Heat Gun

Mini Candle Making Heat Gun

Regular price R 469.00 ZAR
Regular price Sale price R 469.00 ZAR
Sale Sold out
Tax included. Shipping calculated at checkout.

A heat gun is a versatile tool commonly used in candle making to manipulate and melt wax.

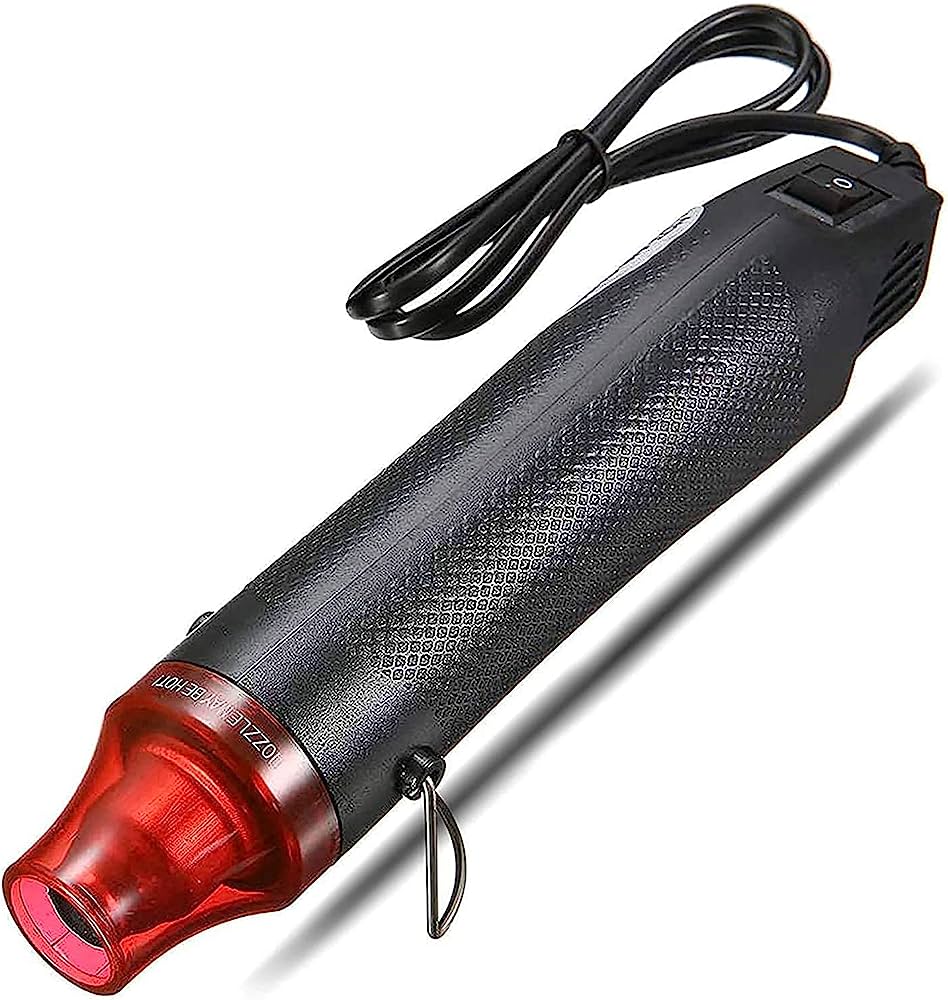
The candle-making heat gun is a powerful and efficient tool designed to provide controlled heat for melting and shaping wax. It features a compact and lightweight design, allowing for comfortable handling during extended crafting sessions.

The nozzle of the heat gun is designed to deliver a focused and concentrated airflow, enabling precise application of heat to specific areas of the wax. This targeted heat distribution helps in achieving desired candle shapes, creating unique textures, or even blending different wax colors seamlessly.

Safety is a priority when working with heat tools, and the candle-making heat gun is equipped with built-in safety features. It includes an ergonomic handle with heat-resistant properties, preventing discomfort or burns during use. Additionally, the heat gun may have an automatic shut-off feature that activates when the tool exceeds a certain temperature, preventing overheating and potential accidents.

The heat gun's versatility extends beyond candle making, making it a valuable tool for other crafting projects as well. It can be used for heat embossing, shrinking heat-shrink tubing, drying paint or adhesives, and even removing old labels or stickers from candle jars.

In summary, the candle-making heat gun is a reliable and efficient tool for melting and shaping wax. 

Features:
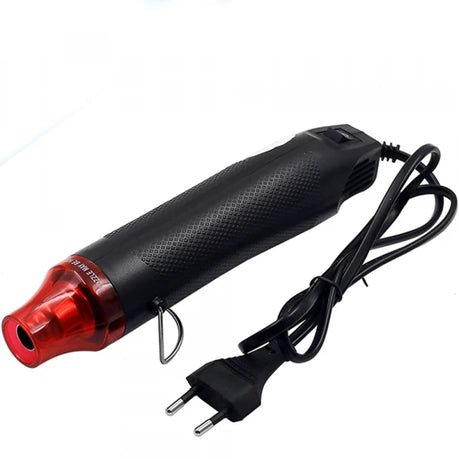
- Material: Plastic, Steel
- 300W, 220V, 50-60 Hz
- Use at 45 degrees incline position
- Multiple use
- Non-slip grip pad

How To Use

Using a heat gun for candle making involves several steps to ensure safe and effective wax melting and shaping. Here's a step-by-step guide on how to use a heat gun for candle making:

Safety first: Before starting, make sure you have a clean and well-ventilated workspace. Protect your work surface with a heat-resistant mat or aluminum foil to prevent any damage or wax spills. Wear heat-resistant gloves to protect your hands from hot wax and always follow the manufacturer's safety instructions.

Prepare your materials: Gather the wax you intend to melt and any additional candle-making supplies like molds, fragrance oils, wicks, and dyes. Ensure that your heat gun is plugged in and ready to use.

Set up your workspace: Position your heat gun in a stable and accessible location. Keep it away from any flammable materials or objects that may be affected by the heat.

Melt the wax: Start by placing the desired amount of wax into a heat-resistant container or a double boiler setup. If you're using a heat-resistant container, make sure it's suitable for heat gun use. Hold the heat gun at a safe distance from the container and apply heat to the wax. Begin with a low temperature setting and gradually increase it as the wax starts to melt. Continuously move the heat gun in a sweeping motion to distribute the heat evenly and avoid overheating in one area. Be patient and avoid rushing the melting process.

Monitor the wax temperature: Regularly check the temperature of the wax using a thermometer. Different types of wax have specific melting points, so it's crucial to stay within the recommended temperature range. Adjust the heat gun settings accordingly to maintain the desired temperature.

Add fragrance and color: Once the wax is completely melted, you can add fragrance oils or candle dyes, if desired. Stir the mixture gently to ensure even distribution.

Pour or shape the wax: Depending on your candle-making project, you can either pour the melted wax into prepared molds or use the heat gun to shape and manipulate the wax directly. When pouring, take care to avoid any spillage or overfilling. If you're shaping the wax, use the heat gun to heat specific areas, allowing you to create textures or achieve desired shapes.

Cool and finish: Allow the candles to cool and solidify completely according to the recommended cooling time for the specific wax you're using. Once the candles have hardened, trim the wicks to the desired length and remove them from the molds, if applicable.

Remember to always exercise caution when using a heat gun and be mindful of the heat and open flames. Follow any additional instructions provided by the manufacturer of your specific heat gun model to ensure safe and effective usage.

Specifications

View full details